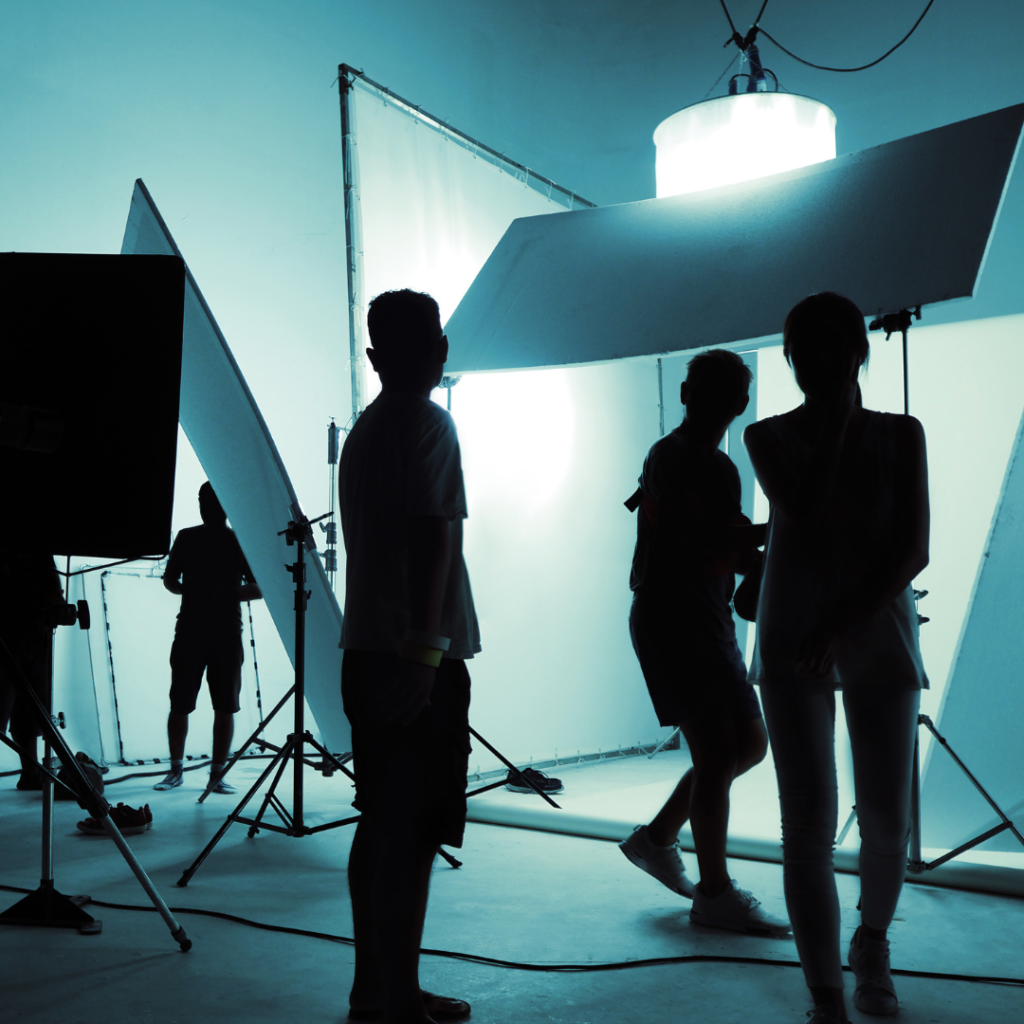
Lighting is a crucial aspect of video production that can make or break your final product. Whether you’re shooting a short film, a YouTube video, or a corporate presentation, understanding the role of lighting in video production is essential. In this blog post, we’ll explore why lighting is important, how it affects video quality, and tips for achieving the best results.
Why Is Lighting Important?
Lighting sets the mood and tone of your video. It influences how viewers perceive your content and can evoke specific emotions. For instance, bright lighting can create a cheerful atmosphere, while dim lighting can convey mystery or tension. The importance of lighting in video production cannot be overstated; it enhances visual appeal and ensures that your audience remains engaged.
The Role of Lighting in Video Production
Lighting plays several roles in video production:
- Visibility: Proper lighting ensures that your subjects are clearly visible. Poorly lit scenes can obscure details and distract viewers from the main message.
- Mood Setting: Different lighting techniques can create various moods. Soft, diffused light can evoke warmth, while harsh shadows can create drama or tension.
- Depth and Dimension: Good lighting adds depth to your shots, making them more visually interesting. It highlights textures and shapes, enhancing the overall quality of your video.
Common Lighting Mistakes in Video Production
Understanding common mistakes in video editing related to lighting can help you avoid pitfalls that many beginners face.
1. Overexposure and Underexposure
One of the most common video editing errors is failing to balance exposure. Overexposed footage loses detail in bright areas, while underexposed footage appears dark and murky.Tip: Use a light meter or your camera’s histogram to ensure proper exposure levels. Adjust your lighting setup accordingly to achieve a balanced look.
2. Inconsistent Lighting
Inconsistent lighting across different shots can disrupt the flow of your video. This inconsistency can confuse viewers and take them out of the experience.Tip: When filming, try to maintain consistent lighting conditions throughout each scene. If you’re shooting indoors, use similar light sources for all shots.
3. Neglecting Natural Light
Natural light can be a powerful tool in video production, but many beginners overlook its potential. Shooting without considering natural light sources may lead to unflattering results.Tip: Take advantage of natural light by shooting during golden hour (the hour after sunrise or before sunset) for soft, warm illumination. If shooting indoors, position your subjects near windows to utilize available light.
Best Lights for Editing
When it comes to editing your videos, having the right lights is essential for achieving high-quality results. Here are some recommended types of lights:
- Softbox Lights: These provide soft, even illumination that reduces harsh shadows.
- LED Panels: Versatile and energy-efficient, LED panels offer adjustable brightness and color temperature.
- Ring Lights: Ideal for close-ups and beauty shots, ring lights create flattering light around the subject.
Tips for Achieving the Best Results with Lighting
To maximize the impact of lighting on your video quality, consider these practical tips:
1. Use Three-Point Lighting
Three-point lighting is a standard technique that involves using three lights:
- Key Light: The main source of illumination that highlights the subject.
- Fill Light: This secondary light softens shadows created by the key light.
- Back Light: Positioned behind the subject, this light adds depth by creating a rim effect.
2. Experiment with Angles
The angle at which you position your lights significantly affects how shadows fall on your subject. Experimenting with different angles can help you find the most flattering look.
3. Control Ambient Light
Ambient light refers to the natural light present in a scene before any additional lighting is applied. Controlling this light is crucial for achieving desired effects.Tip: Use curtains or blinds to manage incoming sunlight when shooting indoors or adjust artificial lights to reduce unwanted glare.
4. Use Gels for Color Effects
Gels are colored filters placed over lights to change their color temperature or create special effects. They can help achieve specific moods or match different light sources.
5. Test Your Setup Before Filming
Before you start filming, take time to test your lighting setup. Make adjustments as needed to ensure everything looks perfect on camera.
Conclusion
The impact of lighting on video quality is profound and far-reaching. Understanding why lighting is important and mastering its techniques will elevate your videos from amateur to professional quality. By avoiding common mistakes in video editing related to lighting and implementing effective strategies like three-point lighting and ambient control, you’ll set yourself up for success in every project. Remember that good lighting not only enhances visuals but also influences how viewers connect with your content emotionally. So take the time to experiment with different setups and find what works best for you—your audience will appreciate it! Happy filming!